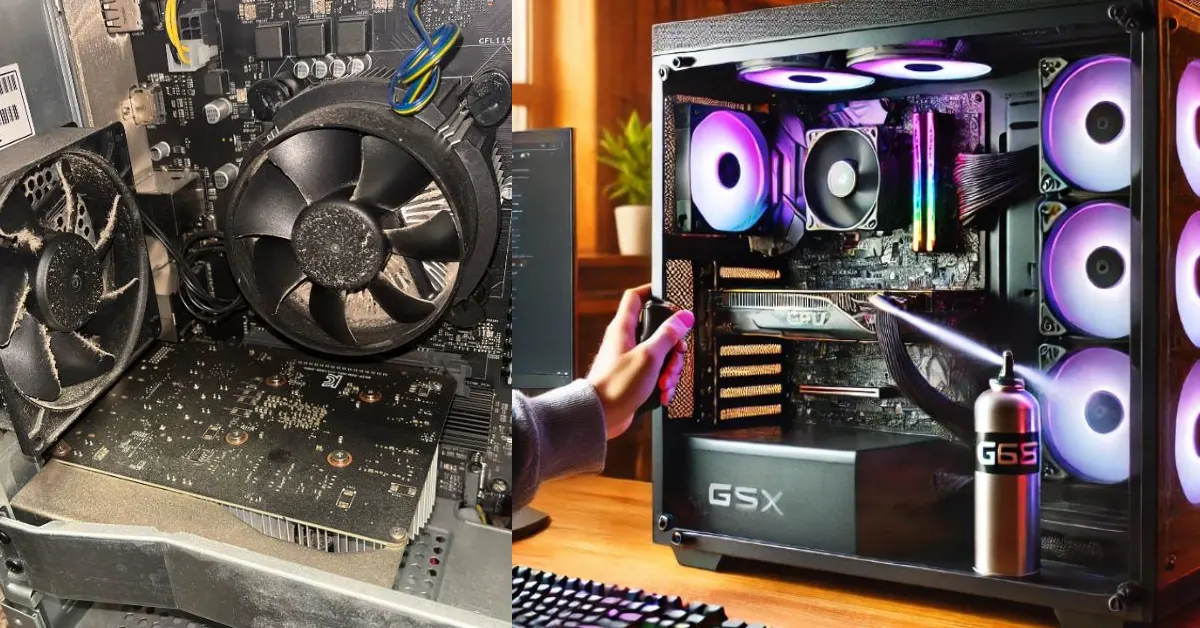
Cleaning and maintaining your gaming PC enhances the lifespan of the hardware, which then results in smoother gameplay and better overall performance. Over time, dust and other fine particles can accumalte on the fans, heatsink, and air vents present on the PC chassis. So, neglected cleaning and maintenance can drastically reduce the overall performance of your gaming PC.
This guide provides step-by-step methods to clean your PC components, update software, and implement best practices for ongoing maintenance. I’ve divided the whole cleaning process into simple steps that you can easily follow.
What Are the Best Ways to Clean and Maintain a Gaming PC?
Follow the step below to effectively clean your gaming PC:
- Preparation: Gather all necessary tools like blower, compressed air, microfiber, and isopropyl alcohol.
- Exterior Cleaning: Start by using a blower to remove settled dust from the exterior of your gaming PC case to avoid scratches, especially on glass panels. Then, gently wipe the surface with a dry cloth and isopropyl alcohol to ensure a clean, polished finish.
- Interior Cleaning: Before cleaning the inside of your gaming PC, ensure it’s powered off and unplugged, then ground yourself to prevent static damage. Carefully remove the side pane, typically secured by thumbscrews or screws at the back to access the internal components for thorough cleaning.
- Removing Dust: Use a compressed air can to safely remove dust from internal components, as it provides a controlled, static-free stream ideal for delicate hardware. This helps ensure a thorough clean without risking damage to your gaming PC’s sensitive internals.
Step 1: Preparation
Tools You’ll Need for Cleaning
-Blower
-Compressed air
-Microfiber cloths
-Isopropyl alcohol
Safety Precations
-Unplug your PC
-Grounding yourself to prevent static damage
Step 2: Exterior Cleaning
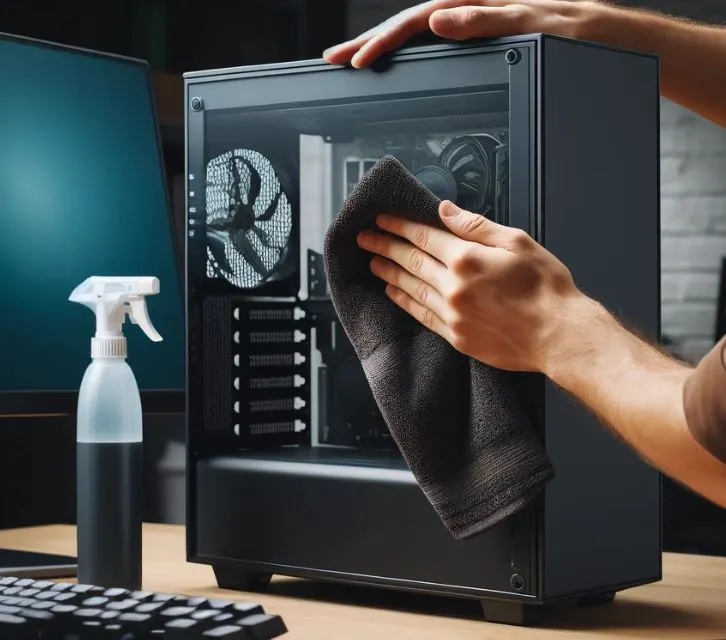
Cleaning your PC case from outside is equally important as it is from the inside. The residing dust and particles on the exterior side can cause scratches or fade the color of your PC case.
Therefore, the first thing you need to is to wipe out any dust from the outside.
Now there are many ways to clean your gaming PC case from outside. You can simply take a piece of cloth or you can use a blower to wipe off any residing dust particles.
I always start with the blower (you can use a hair blower if you want) to remove any settled dust on the PC chassis.
You can use a microfiber or any dry cloth if you want. However, using a cloth directly on a dusty surface can result in scratches (especially if you have PC case made up of glass or side glass panel).
So, I’ll recommed you to use the blower first to remove any settled dust on your PC chassis.
Once you have blown away the dust from the surface, put some Isopropyl alcohol solution on a dry cloth and wipe down your chassis.
Step 3: Interior Cleaning

Once you have finished cleaning your PC from outside, it’s time to clean it thoroughly from inside. Before you open your PC case, make sure it is shut down and unplugged from the power source.
Ground Yourself:
Safety first! Even if your PC is turned off or unplugged, static charges on the PC components can cause an electric shock. Before you touch the PC case, it’s important to wear an anti-static wrist strap or touch a grounded metal object to discharge static electricity.
Opening the case:
The first thing you need to do it open up your PC case. Modern gaming PCs come with side glass panel cases that you can either open by sliding them to one side or by pressing the opening lid.
In most PC chassis, screws are located at the back side of the case. Identify them and loose them to open the side lid.
Carefully unscrew and remove the side panel of your PC case. Please note that some PC cases have thumbscrews, while classic PC cases may require a screwdriver.
Once the side panel is removed, you can then access the internal hardware that requires cleaning.
Step 4: Dust Removal
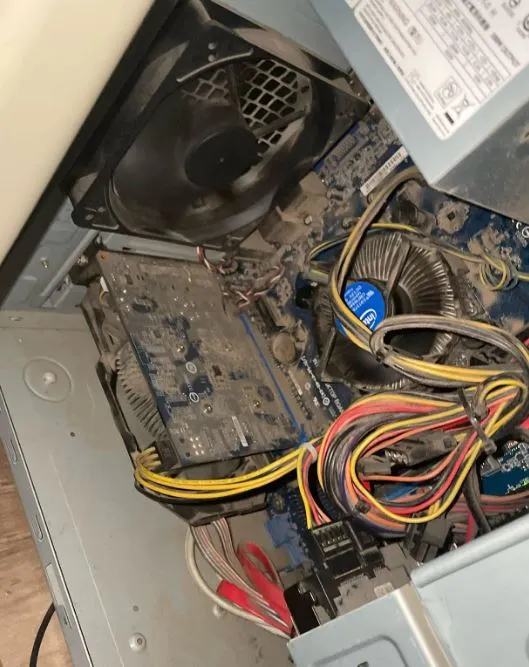
Once you have opened the lid, it’s time to remove any excess dirt or particles residing on the internal components of your gaming PC.
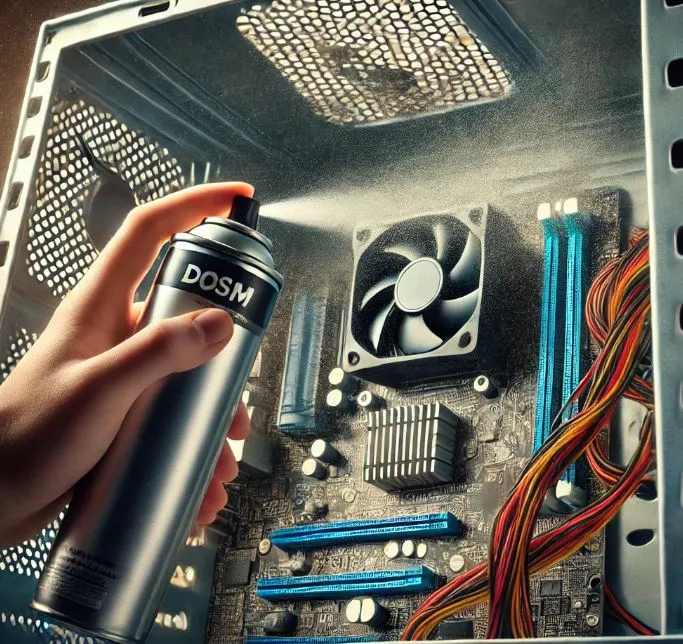
Use a compressed air can or dust blower to wipe away any dust or debirs settled inside the chassis.
I always prefer compressed air can over a dust blower for cleaning my PC internally.
Compressed air cans are generally preferred over blowers for removing dust inside a PC case because they offer a controlled, dry, and static-free stream of air that effectively dislodges dust without risking damage to sensitive components.
On contrary, blowers can generate static electricity and produce a stronger, less controlled airflow, which may harm delicate electronic parts or over-spin fans, potentially damaging their bearings.
Alternatively, you can also use a compressed air duster that offers superior cleaning performance over a tradtional comrpessed air can. Compressed air dusters can be recharged and used multiple times unlike a compressed air can.
Using Compressed Air Can
Spray in short bursts to prevent condensation and avoid prolonged exposure that could damage the internal components. Always keep a safe distance (about 6 inches) from sensitive parts (capacitors, MOSFETS) to prevent any damage.
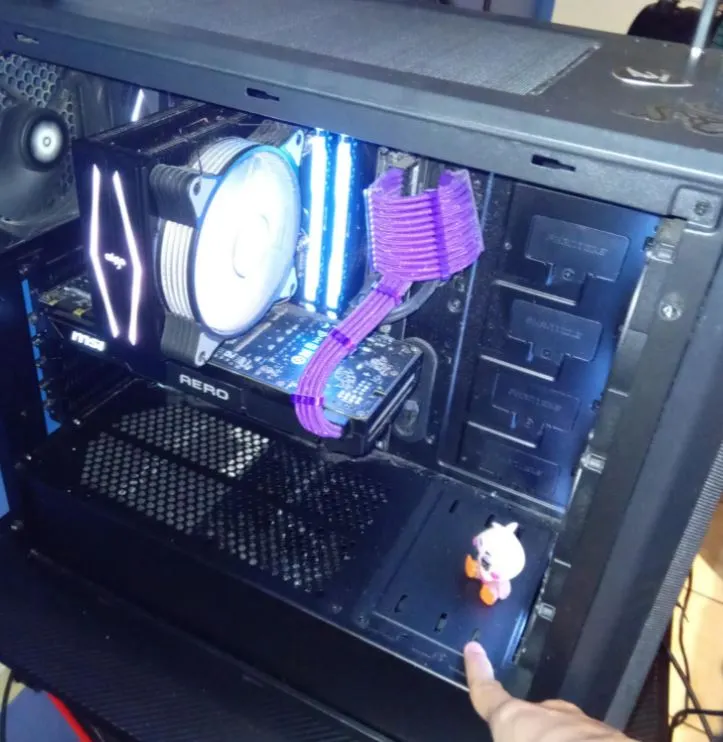
Step 5: Cable Management
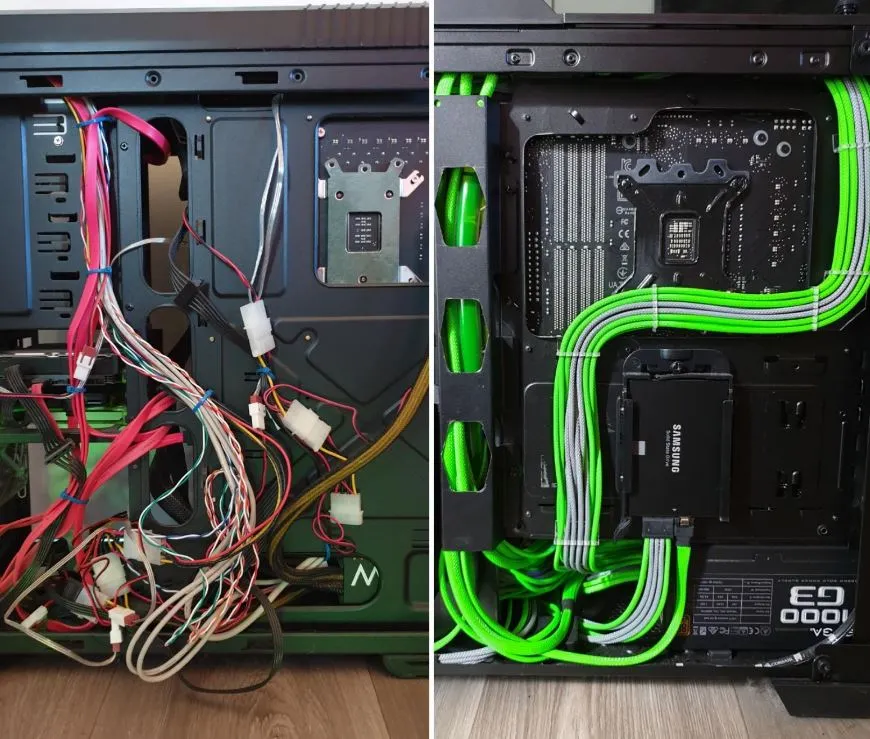
This step is more related to the “Cable Management” which is a widely adopted pratice in the PC gaming industry.
Cable management in PC gaming is the practice of organizing and securing the cables within a gaming computer to improve airflow, aesthetics, and maintenance.
By neatly routing power, data, and peripheral cables inside the PC case, gamers can enhance cooling efficiency by preventing cables from obstructing airflow to critical components like the CPU and GPU.
Always check if there are any loose or unnecessary cables that need to be removed or rerouted. Removing or rerouting unnecessary cables creates more space for the fresh air to flow inside your chassis to cool down components.
Additionally, a study by Faulkner Haynes on data center cable management found that proper cable arrangement can significantly improve cooling efficiency by up to 30%, as reducing clutter allows air to flow more freely.
Step 6: Software Maintenance
Do you know that optimizing your operating system and other gaming related software can boost your system’s gaming performance? Yes, keeping your hardware drivers updated can let you squeeze more gaming juice out of your machine.
Updating your Windows, GPU, and Monitors drivers can significantly improve your gaming performance. Furthermore, running system diagnostics tools like MiniTool Partition Wizard, Speccy, Open Hardware Monitor, CCleaner, etc can help you in removing unnecessary files and folders from your PC.
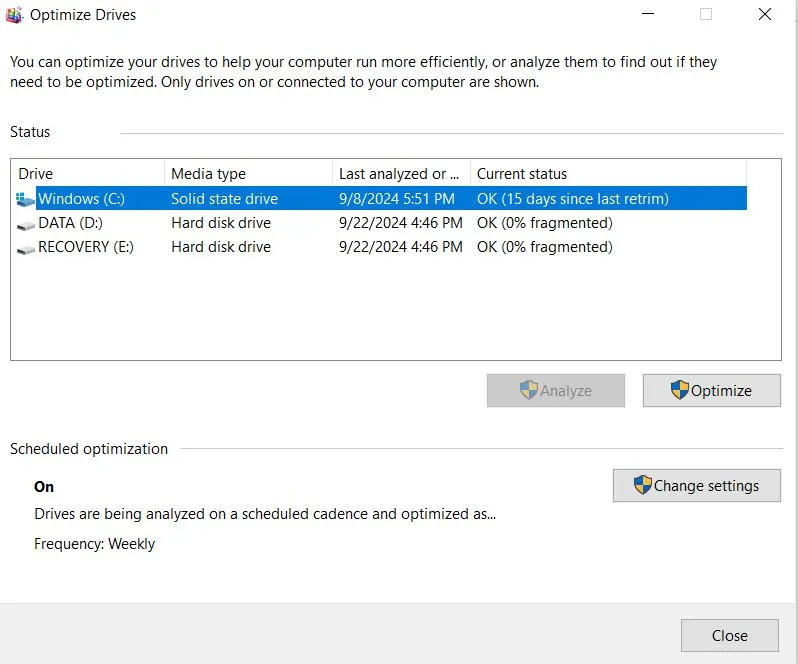
Remember the good old days when we use to defrag our hard drives to boost our PC’s performance? Defragmenting a hard drive or SSD improves its performance by reorganizing fragmented data, making files stored on the drive contiguous. This reduces the time the drive’s read/write head needs to locate and access data, which results in faster file loading times and overall system efficiency.
You can boost the performance of your gaming PC by installing third-party programs. My favourite program for maximizing average FPS is Razer Cortex: Game Booster. This program increases your average FPS by micro-managing your Windows OS and other non-essential applications using two core modes.
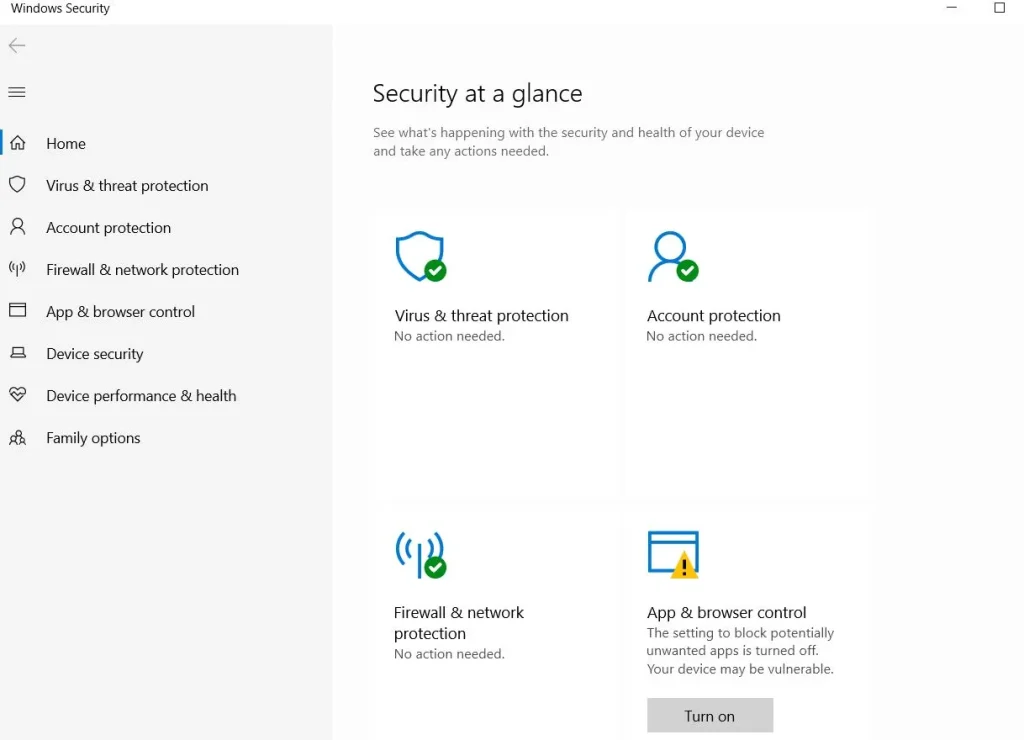
Laslty, you need to install a reliable anti-virus program to secure your PC from any infected file or virus. PC Viruses can hinder the performance of your hardware, resulting in sluggish performance in games.
You can use any reliable anti virus program to keep your PC safe from external threads. I use Windows Security utility to defend my PC against any exernal threat.
Advanced Gaming PC Maintenance Tips
The steps that we’ve discussed before this section are enough to keep your gaming PC in its best state. However, if you a Pro gamer and want to squeeze every last drop of performance out of your gaming PC, then here are some advanced maintenace tips to follow:
Check Thermal Paste
Thermal paste is a conductive substance applied between a CPU or GPU and its cooler to fill microscopic gaps and improve heat transfer from the processor to the heatsink.
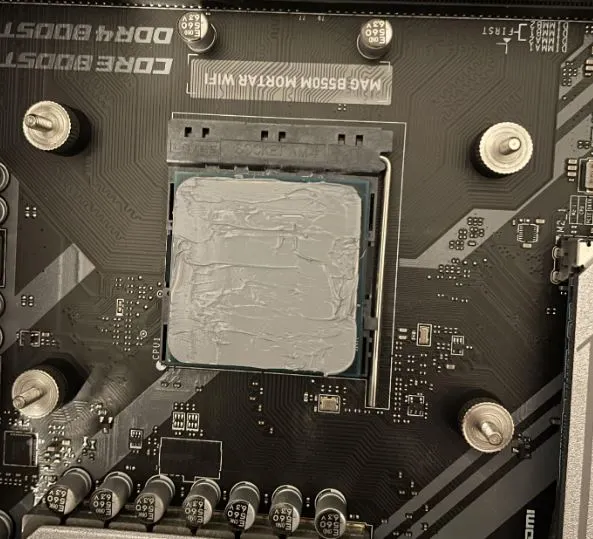
In a gaming PC, replacing thermal paste is recommended every 1-3 years or when you notice higher temperatures (usually over 85°C (185°F). Reapplying the thermal paste ensures optimal cooling and ptimal gaming performance.
Which Components Inside a Gaming PC Accumulate the Most Dust?
Below are the key components that are exposed to the dust and need special attention while cleaning:
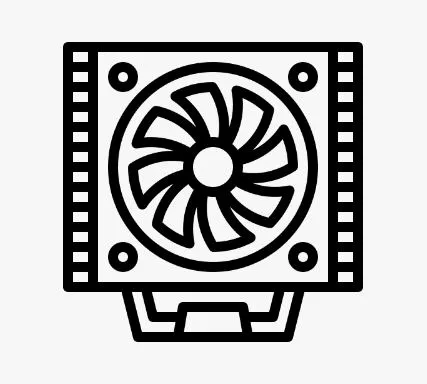
- CPU Cooler & Case Fans: Dust can accumulate on the heatsink and fan, reducing cooling efficiency. Blow compressed air through the fins and fan blades to clean them thoroughly.
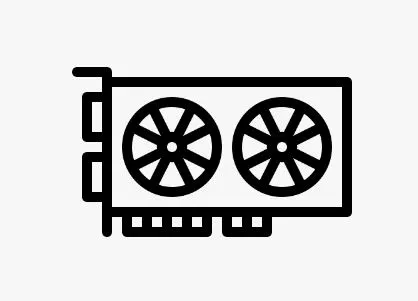
- GPU (Graphics Card): Dust particles can clog the fans and heatsinks on your GPU, leading to overheating. Use a compressed air can or duster to remove excess dust residing inside the GPU heatsink fins and fan.
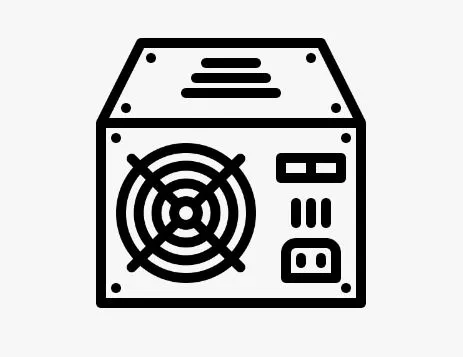
- Power Supply: Dust builds up on power supply fans due to the movement of air that carries dust particles into the power supply unit (PSU). The air contains tiny dust particles, pollen, pet dander, and other microscopic debris present in the environment. Use a compressed air can to blow air from the PSU vents or fan blades to remove any dirt. Please do not open the power supply if you don’t have any technical knowledge.
Regular cleaning these components helps maintain optimal airflow and cooling, ensuring your gaming PC runs in its full glory.
How Often Should You Clean and Maintain Your Gaming PC?
It’s a good idea to create a cleaning and maintenance schedule for gaming PC to get the best performance out of it.
Here’s a table that I follow to clean and maintain my gaming rigs:
| Frequency | Tasks |
|---|---|
| Monthly | Dusting: Use compressed air to clean interior and exterior |
| Software Updates: Update OS, drivers, and antivirus | |
| Quarterly | Deep Cleaning: Thoroughly clean components like CPU cooler, GPU, PSU |
| Cable Management: Arrange cables for better airflow | |
| Bi-Annual | Thermal Paste Check: Inspect and replace if needed |
| Hardware Inspection: Check for wear or damage | |
| Annual | Full System Diagnostic: Run comprehensive hardware checks |
| Component Upgrades: Evaluate need for upgrades based on performance |

Mosaab Jamal Ahmed brings 12+ years of PC Hardware experience to the table. His journey began in 1998 with a Pentium 1 PC, igniting his lifelong fascination with computer hardware and video games. Over the years, Mosaab has honed his skills in upgrading and building gaming PCs. He has built dream gaming machines for multiple brands and local businesses throughout his career. Mosaab’s areas of expertise are building custom gaming PCs, in-depth PC hardware analysis, and PC hardware reviews.